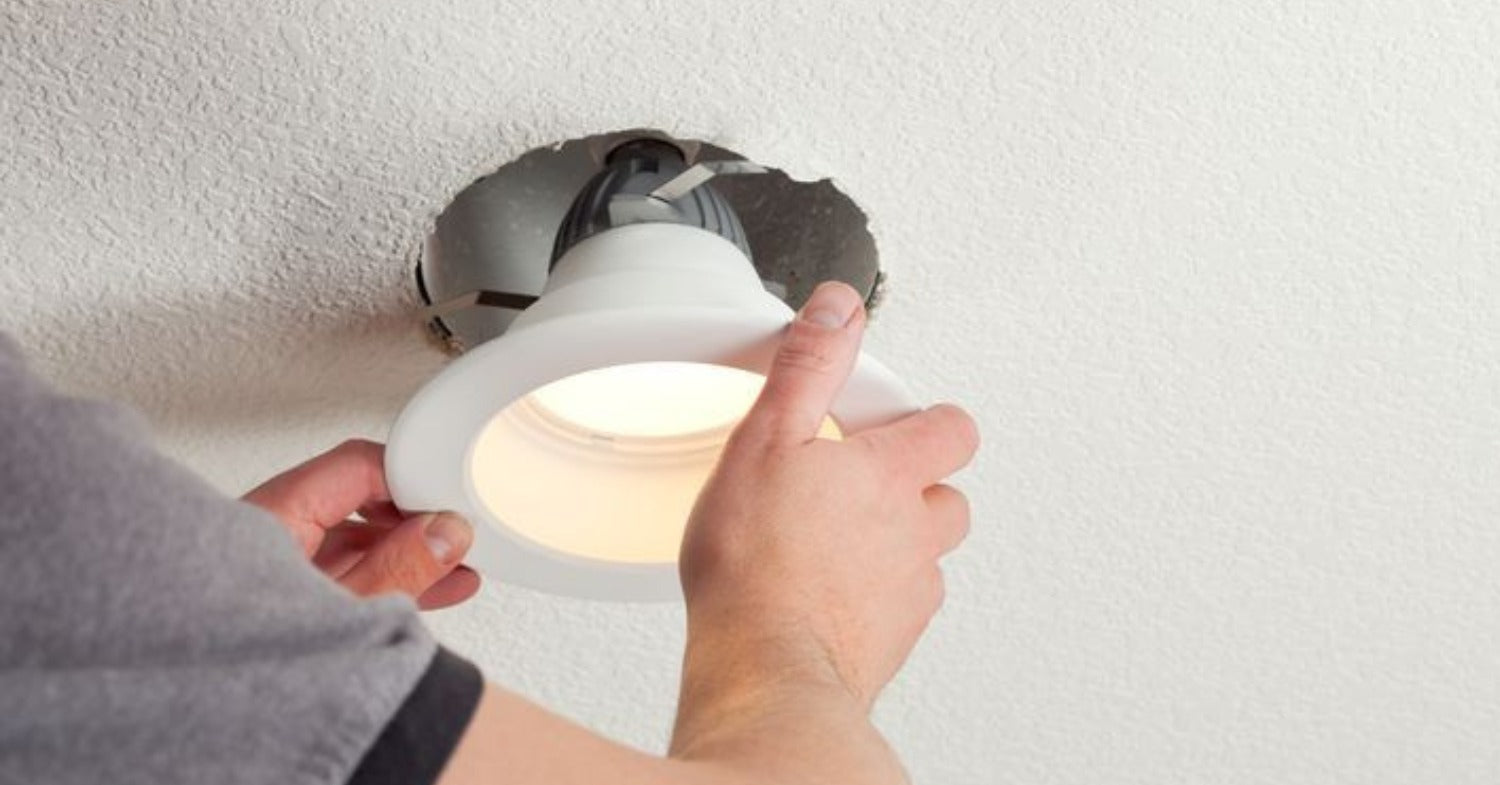
LED pot lights, also known as recessed lighting, are a popular choice for many homeowners due to their energy efficiency and long lifespan. However, like all light bulbs, they will eventually need to be replaced. Whether you're upgrading to a newer LED model, switching to a different color temperature, or simply replacing a burnt-out bulb, this guide is for you. In the below section, we have provided steps that you can follow to change the pot light bulb.
Safety First
The very first step in “how to change LED pot light bulbs” is to ensure safety. To ensure your safety, follow these precautions:
- Turn off the power
- Locate the circuit breaker or switch that controls the power to the pot light and switch it off. This will prevent any risk of electrical shock during the replacement process.
- Let the old bulb cool
- If the old LED bulb is still on or has been in use recently, give it some time to cool down. LED bulbs can get hot, and you want to avoid any burns during removal.
Gather Your Tools
As you have guessed, the second process is to gather all the tools you will need during the changing process. We have provided a list in the following section. Ensuring that you have all this equipment will make your changing process fast and smooth.
- A ladder or a step stool
- Ensure you have safe and stable access to the pot light.
- A screwdriver
- You may need this to remove any fixtures or trims that cover the bulb.
- Safety goggles
- Protect your eyes from any debris or accidental shattering of the old bulb.
- A replacement LED bulb
- Make sure it's compatible with your existing fixture in terms of size, wattage, and color temperature.
Identify the Pot Light Fixture
Before you proceed, you need to understand how the pot light fixture is designed and how the bulb is accessed. There are two common types of pot light fixtures:

Fixtures with Trim
If your pot light has a trim, follow these steps:
- Position your ladder or step stool beneath the light.
- Gently pull or twist the trim to remove it. Some trims are held in place by tension clips, while others may require a quarter-turn to unlock.
- Once the trim is removed, you will have direct access to the bulb.
Fixtures with Covers
If your pot light has a cover, follow these steps:
- Position your ladder or step stool beneath the light.
- Use a screwdriver to carefully remove any screws or clips securing the cover in place.
- Once the cover is removed, you will have access to the bulb.
Remove the Old LED Bulb
As you have guessed, the important step in “how to change LED pot light bulb” is to remove the old bulb. Carefully remove the old LED bulb from its socket. If the bulb is stuck, gently wiggle it until it comes free. Be cautious not to apply too much force, as this can damage the fixture or shatter the bulb. Once the old bulb is out, dispose of it responsibly according to your local regulations.
Select the New LED Bulb
When choosing a replacement LED bulb, consider the following factors:
- Wattage
- Match the wattage of the new bulb to the wattage of the old one. Using a higher-wattage bulb may lead to overheating, while a lower-wattage bulb may not provide enough illumination.
- Color Temperature
- Select a color temperature that suits your preferences. LED bulbs come in various options, from warm white (around 2700K) to cool white (around 5000K).
- Size
- Ensure that the new bulb fits properly in the socket without any clearance issues.
|
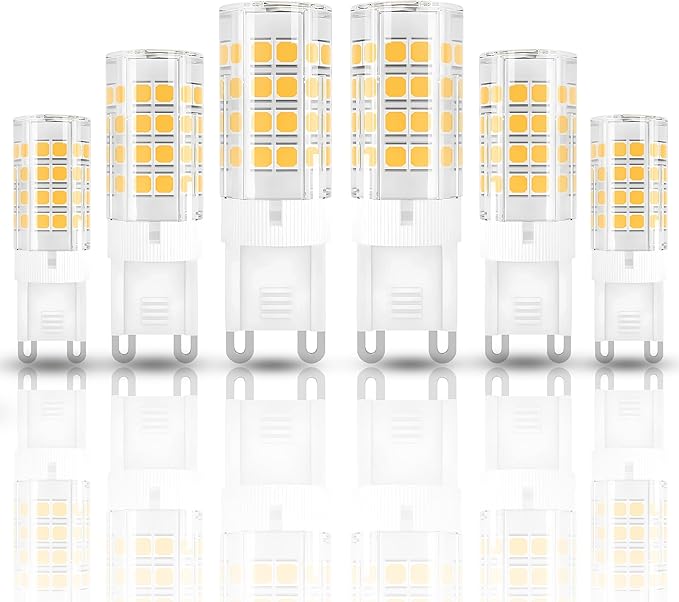
If your old bulb needs to be replaced and you need a new one, look at the extensive collection of Cymak LED in Canada. All the LED pot light bulbs are long-lasting, reliable, energy-efficient, and prices are customer-friendly. |
Install the New LED Bulb
Now, it's that time in the “how to change LED pot light bulb” guide that you need to install a new LED bulb. To install the new LED bulb, follow these steps:
- Carefully insert the new LED bulb into the socket, ensuring it's securely in place. Gently twist it clockwise if necessary until it's snug.
Test the Light
Turn the power back on at the circuit breaker and test the new LED bulb to make sure it's working correctly. If it doesn't, double-check the connection and ensure the bulb is properly seated in the socket.

Reassemble the Fixture
If you had to remove a cover or trim to access the bulb, reassemble it according to the manufacturer's instructions. Ensure it's properly aligned and fastened to avoid any hazards or exposed wires.
Maintenance Tips
To maximize the lifespan of your LED pot light bulbs and keep them operating efficiently:
- Dust the bulbs regularly to prevent any buildup, which can reduce their efficiency.
- Keep the surrounding area clean and free of debris to maintain optimal lighting conditions.
Common Issues and Troubleshooting
If you encounter issues such as flickering, dimming, or the new bulb not working as expected, consider these troubleshooting steps:
- Check the connection of the bulb to ensure it's securely in place.
- Ensure the bulb is compatible with your fixture in terms of wattage and size.
- Consult the manufacturer's guidelines for troubleshooting, and reach out to their customer support if necessary.
Conclusion
Understanding the guide on “how to change LED pot light bulb” is easy, and implementing it way easier. Changing an LED pot light bulb is a straightforward DIY task that can save you money and ensure your home stays well-lit with energy-efficient lighting. With the right precautions and this step-by-step guide, you can easily replace your LED bulb, keeping your space bright and efficient.
FAQs
LED pot light bulbs can last up to 25,000 hours or more, depending on usage and quality.
It's best to match the wattage of the original bulb for optimal performance and safety.
Yes, you can choose LED bulbs with various color temperatures to suit your preferences, from warm to cool white.
This prevents the risk of electrical shock when handling the fixture.
Try checking the connection, ensuring the bulb is correctly installed


