Cart
0
Do you want to install a flush mount ceiling light but are confused about how to do it? Well, here we are with a complete guide for you. Installing a flush-mount LED ceiling light can brighten up your living space while also enhancing the aesthetics of your home. These modern fixtures are energy-efficient and provide excellent illumination. So, let us start.
Understanding the Process
Before going on to the steps on how to install a flush mount LED ceiling light, let us understand some of the basic aspects that can assist you. Flush mount LED ceiling lights have a clean and contemporary appearance because people install them directly onto the ceiling. They are a great lighting solution for rooms with low ceilings, as they don't hang down like pendant lights or chandeliers. You can find these lights in various designs, and you have the option to customize them to match your decor.
Required Materials
Before you begin, gather the necessary tools and materials:
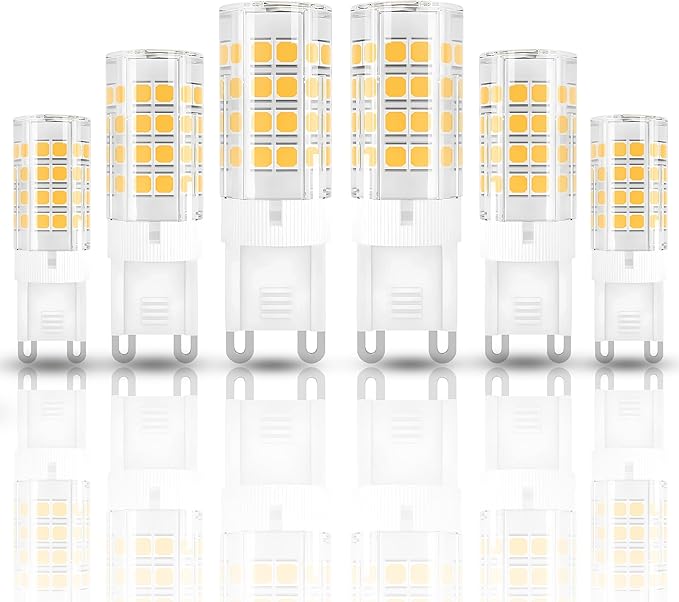
- Flush mount LED ceiling light fixture
- Screwdriver
- Wire stripper
- Wire nuts
- Wire connectors
- Voltage tester
- Ladder
- Safety glasses
- Circuit breaker
Steps
The wait is over, as we are now disclosing the steps on how to install flush mount LED ceiling light. So, let us begin.
Safety First
Safety should always be your top priority when working with electrical fixtures. Start by turning off the power to the room where you'll be installing the flush mount LED ceiling light.
- You can do this by switching off the circuit breaker.
- Double-check that there is no electricity flowing to the wires using a voltage tester.
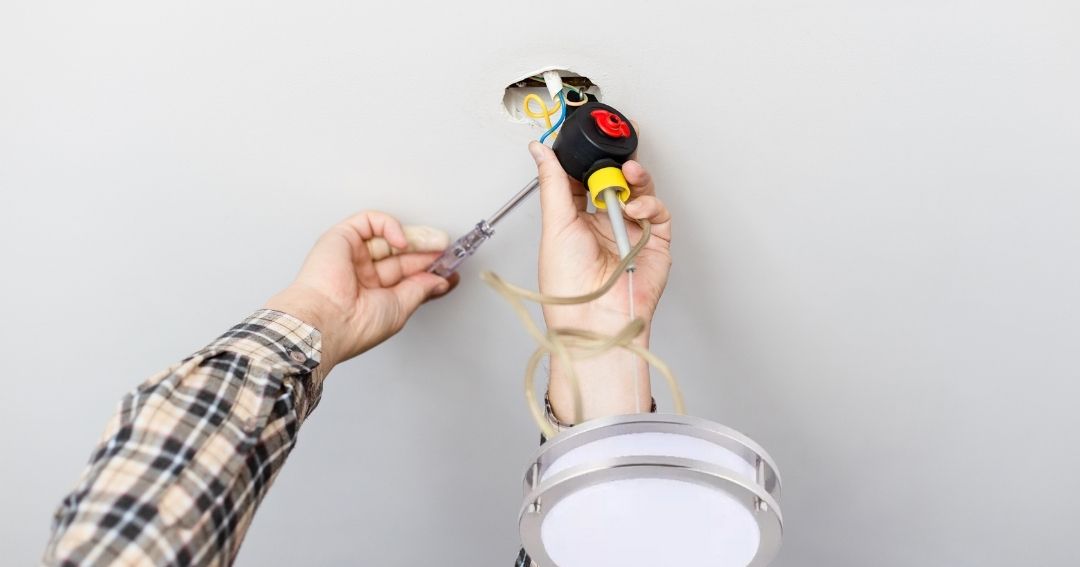
Remove the Old Fixture
If there is an existing light fixture, remove it carefully. This typically involves unscrewing it from the ceiling and disconnecting the wires.
- Make sure you place the old fixture aside for disposal or reuse.
Wiring the Junction Box
Next, you need to connect the wires from the junction box to the wires of the LED light fixture.
- Usually, this means matching the black wire with the black wire and the white wire with the white wire.
- Use wire connectors to secure them. Ensure that the connections are tight and secure.
Install the Mounting Bracket
Attach the mounting bracket to the ceiling junction box. The bracket will hold the flush mount LED light fixture in place.
- Secure it properly to ensure the fixture is stable and level.
Attach the LED Light Fixture
With the mounting bracket in place, attach the LED light fixture to it. Most fixtures come with screws or clips that will help secure the fixture to the bracket.
- Be sure to follow the manufacturer's instructions for your specific fixture to ensure proper attachment.
Test the Light
Now that the fixture is in place, turn the power back on and test the light to ensure it's working correctly.
- If all is well, turn the power off again.
Finishing Touches
If the light is functioning as expected, finish the installation by attaching any decorative elements or covers that came with the fixture.
- These will give your flush mount LED ceiling light a polished and finished appearance.
|
Following this procedure can allow you to easily install LED flush mount ceiling lights. However, if you are searching for a new and unique collection of flush mount ceiling lights in Canada, Cymak LED has got you covered. They offer the premium and best articles at a discounted rate which makes them very famous among the people. |
Maintenance Tips
After getting the guide on “how to install Flush mount LED ceiling light”, let us give you some maintenance tips that ensure the longevity of fixtures.
Regular Dusting
Dust can accumulate on the fixture's surface, reducing brightness. Gently dust with a soft cloth or duster.
Clean the Cover
If your light has a cover or shade, remove and clean it with a mild detergent and warm water. Dry thoroughly before reattaching.
Inspect for Loose Parts
Check for loose screws or fasteners caused by vibrations. Ensure all components are securely fastened.
Inspect Wiring
Examine the wiring and connections for damage. Replace frayed or damaged wires immediately.
Replace Burnt-Out Bulbs
LED bulbs have a long lifespan, but when they dim or flicker, it's time to replace them with new ones.
Clean the Surrounding Area
Dust and cobwebs can accumulate around the fixture, affecting its appearance. Regularly clean the area.
Check for Water Damage
In moisture-prone areas, like bathrooms or kitchens, watch for water stains and signs of leakage.
Consult Manufacturer Guidelines
Always refer to the manufacturer's instructions for specific maintenance requirements.
- Following these maintenance tips ensures that your flush mount LED ceiling lights remain efficient, reliable, and visually appealing for years to come.
Conclusion
Understanding how to install flush mount LED ceiling lights can assist you in easily replacing the lighting fixtures in spaces. Installing a flush mount LED ceiling light can improve the lighting and ambiance of your home. By following these steps and considering the safety precautions, you can successfully install this modern and energy-efficient lighting fixture in your living space. Enjoy the benefits of improved lighting while adding a touch of contemporary style to your home.