Cart
0
LED flush mount lights are a popular choice for modern lighting fixtures, known for their energy efficiency and long lifespan. However, like all light bulbs, LEDs eventually burn out and need to be replaced. Are you feeling worried or confused about how to change the flush mount led light? Well, it's normal and understanding some procedures can help you in completing this process. Further, a proper installation is important for the reliability and durability of lighting fixtures. We suggest you read the following points to ensure a proper installation.
Required Tool
Before understanding “how to change flush led mount light”, you need to get all the equipment and tools that are required. If you have all these tools beforehand, changing the flush mount light will be a smooth process. Here is a list of tools that you need:
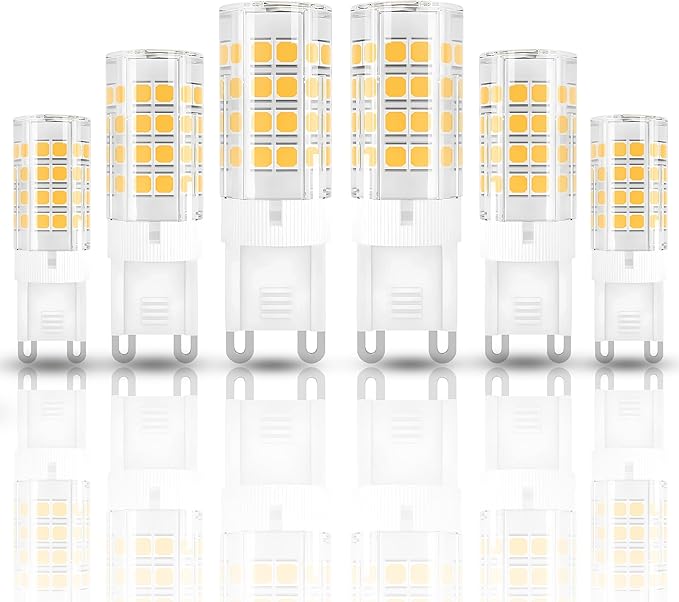
- First, you need a new LED bulb of the correct size, shape, and wattage to replace the old one.
- Secondly, you may need a step ladder or extension ladder depending on the height of the ceiling.
- Typically, changing the flush mount ceiling light requires a screwdriver.
- Safety should be your top priority. Wear safety goggles and gloves, especially if you're dealing with an old fixture.
- It's important to ensure the power is off before working with electrical components.
- This can help secure wires and connections.
- To safely connect wires.
- In case you need to trim or strip wires.
Guide for Changing LED Flush Mount Ceiling Light
Now, we are moving on to “how to change LED flush mount light”. Before you start changing the flush mount light led , it's crucial to ensure your safety. Follow these steps:
- Turn off the power.
- Use an electrical tester to ensure there's no electrical current flowing to the fixture. Test the wires and the fixture itself to be completely certain.
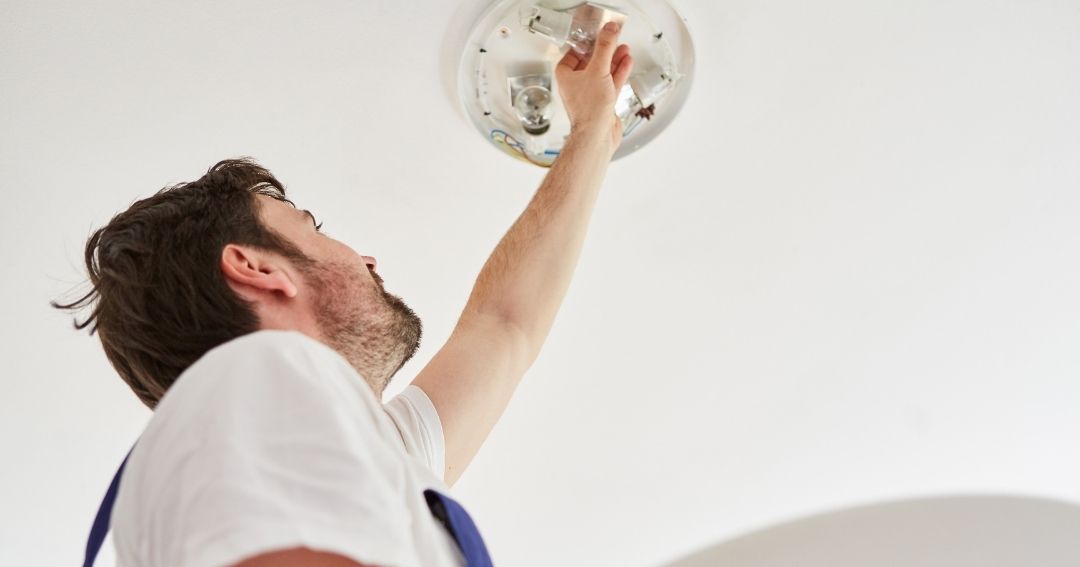
Removing the Old LED Flush Mount Light
Now that you've ensured safety, you can proceed to remove the old LED flush mount light.
Remove the fixture cover
Flush mount lights typically have a cover that hides the bulb. Use a screwdriver to unscrew and remove it.
Disconnect the wiring
Inside the electrical box, you'll find wires connected to the old light fixture. Carefully disconnect these wires. Be sure to note the colour-coding of the wires for easy reconnection later.
Remove the old LED light bulb
Depending on the type of fixture, you may need to unscrew or unclip the old LED light bulb. Remove it from the socket carefully and dispose of it properly, as LED bulbs contain hazardous materials.
Detach the fixture from the ceiling
Once you disconnect the wiring and remove the old light bulb, you can access the fixture itself. Screws or a bracket typically hold most flush mount lights in place. Use your screwdriver to remove these fasteners and take the fixture down.
Installing the New LED Flush Mount Light
With the old fixture removed, it's time to install the new LED flush mount light.
Connect the new fixture
Attach the new fixture to the ceiling using the same screws or bracket that held the old one in place. Secure it firmly to the ceiling.
Connect the wiring
Connect the wires from the new fixture to the wires in the electrical box. Match the colour-coded wires (live to live, neutral to neutral, ground to ground) and secure them using wire nuts. Use electrical tape to insulate and protect the connections.
Attach the cover
Place the cover back onto the fixture and secure it with the screws you removed earlier.
Install the new LED light bulb
Carefully screw the new LED light bulb into the socket. Make sure it's securely in place.
Restoring Power and Testing
With the new LED flush mount light in place, it's time to restore power and test the fixture.
Turn the power back on
Return to the electrical panel. Flip the breaker switch to restore power to the light fixture.
Test the light
Turn on the light to ensure it's functioning correctly. If it doesn't light up, double-check your wiring and connections. Make sure you properly screw in the LED bulb and securely attach the cover.
Adjust the brightness
If your flush mount light has dimmable capabilities, you can adjust the brightness as needed.
Conclusion
Following this guide will equip you with the knowledge on “how to change LED flush mount light”. By following the steps and prioritizing safety, you can successfully replace your old LED fixture with a new one. Remember to regularly clean and maintain your flush mount led lights to keep them shining brightly for years to come.